In the world of automated transcription, “Garbage In, Garbage Out” is the golden rule. No matter how advanced your Speech-to-Text (STT) model is—whether it’s Deepgram Nova-2 or Whisper Large v3—it cannot hallucinate clarity from a noisy, muffled recording.
At our core, we process thousands of hours of call center audio. These recordings are often plagued by background noise, varying volumes, and microphone hum. To solve this, we built a robust, 6-step audio enhancement pipeline that runs before the audio ever hits the transcription API.
Here is how we “clean the signal” using Python, DeepFilterNet, and FFmpeg.
Why Standard Denoising Failed Us
Initially, we tried standard spectral gating (like Audacity’s noise reduction). The problem? It’s “dumb.” It removes frequencies, not concepts. If a car hunk is in the same frequency range as a human vowel, spectral gating destroys the voice too.
We needed a model that “understands” human speech. That led us to DeepFilterNet.
The Pipeline Architecture
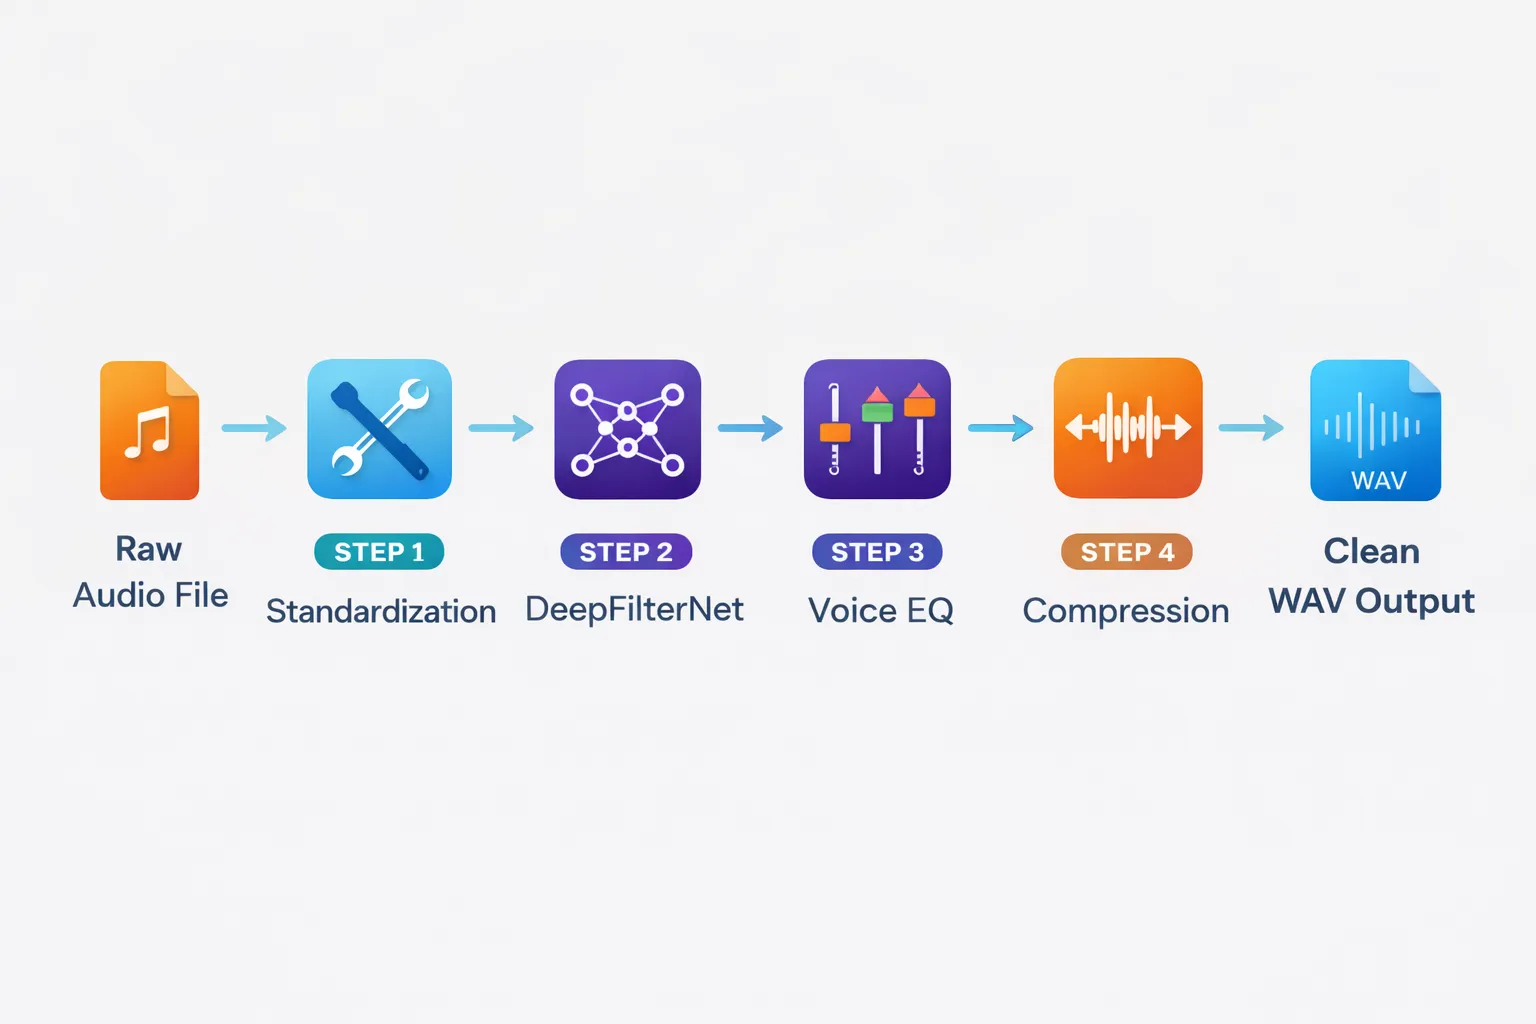
Our AudioProcessor class orchestrates the entire process. We don’t just rely on one tool; we chain multiple signal processing techniques to ensure the best possible input for our AI models.
Step 1: Standardization (The Foundation)
First, we convert everything to a standard format: WAV, Mono, 16kHz. This ensures our downstream models (like DeepFilterNet) receive exactly what they expect.
Why 16kHz? Most STT models (like Whisper) are trained on 16kHz audio. Upsampling to 44.1kHz is a waste of compute; downsampling below 16kHz loses intelligibility.
def standardize_audio_format(self, input_path, output_path=None):
    """Convert any audio format into a clean, mono WAV file."""
    if output_path is None:
        output_path = self.generate_temp_path("wav")
    audio = AudioSegment.from_file(input_path)
    audio = audio.set_channels(1)
    audio.export(output_path, format="wav")

    return output_path
Step 2: AI-Powered Denoising (DeepFilterNet)
This is the heavy lifter. We use DeepFilterNet, a state-of-the-art low-latency speech enhancement model. Unlike traditional spectral subtraction, it uses a UNet architecture to separate “speech components” from “everything else.”
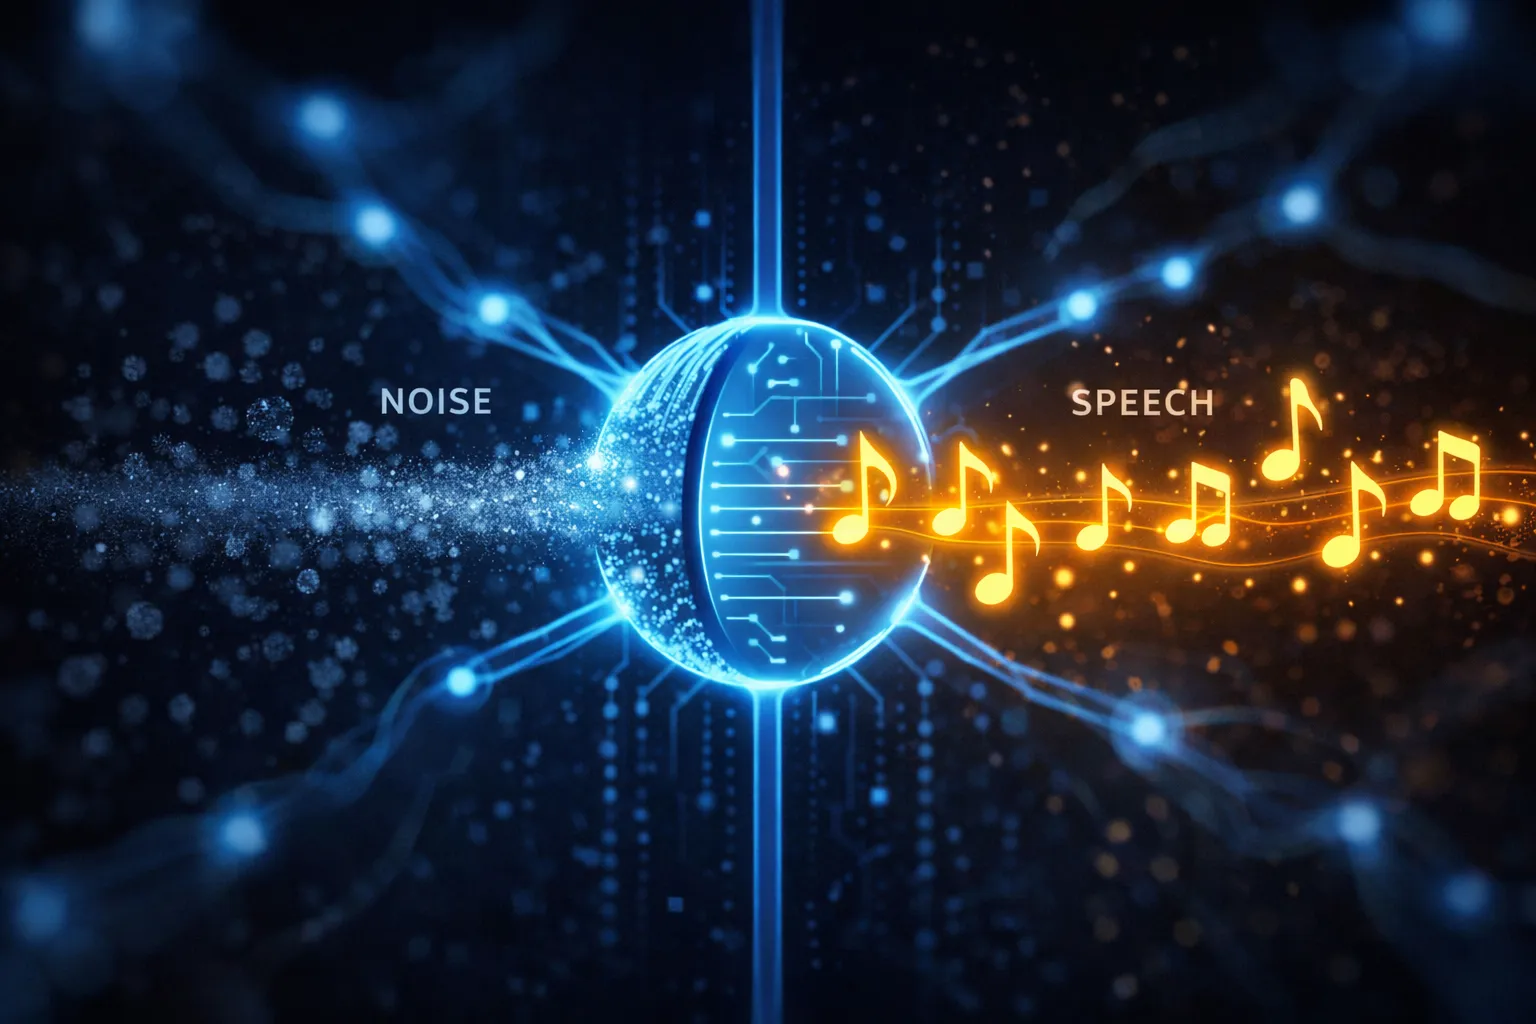
The “Robotic Voice” Problem: Aggressive AI denoising can often make people sound robotic or clipped. To solve this, we implemented a Smart Blending Strategy. We calculate the signal energy. If a section is silent, we let the AI be aggressive. If it’s speech, we blend 70% enhanced signal with 30% original signal to recover the “warmth” and natural harmonics.
def apply_ai_denoising(self, audio_data, sample_rate):
    """Apply DeepFilterNet with a smart blending mask to preserve natural voice."""
    raw_tensor = torch.from_numpy(audio_data).float()
    enhanced_tensor = self.model.enhance(raw_tensor)
    energy_map = calculate_audio_energy(raw_tensor)
    silence_mask = (energy_map < SILENCE_THRESHOLD).float()
    blend_ratio = BLEND_RATIO * silence_mask + (1 - BLEND_RATIO) * (1 - silence_mask)

    final_output = (blend_ratio * enhanced_tensor) + ((1 - blend_ratio) * raw_tensor)

    return final_output
Step 3: Voice Frequency EQ (The Math Behind Clarity)
Call center audio often lacks “presence.” We apply a specific EQ curve tailored to the human voice frequency range (85Hz - 3.5kHz).
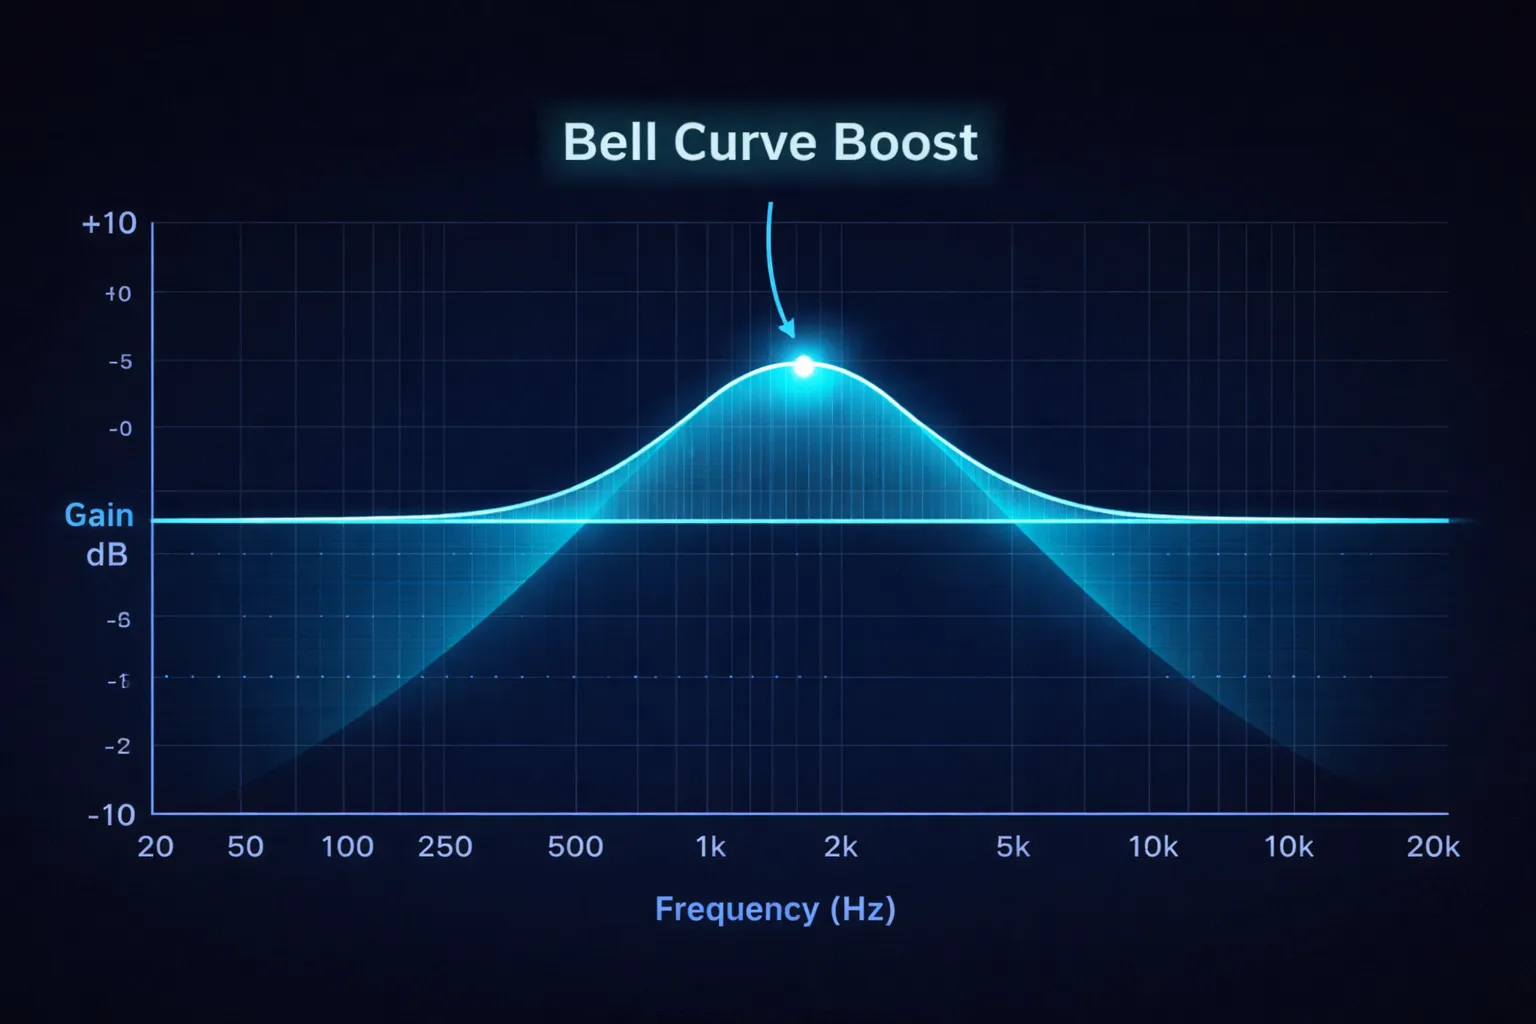
We use Butterworth filters (scipy.signal.butter). Why Butterworth? Because they have a maximally flat frequency response in the passband, meaning they don’t add “ripple” or distortion to the voice.
The formula involves the Nyquist Frequency (half the sampling rate). Digital filters must be normalized to this.
VOCAL_RANGE_START / nyquist: The start of the human voice “body.”VOCAL_RANGE_END / nyquist: The peak of intelligibility (consonant clarity).
def apply_vocal_eq(self, audio_data, sample_rate):
    """Apply a custom EQ curve optimized for human speech intelligibility."""
    nyquist_freq = 0.5 * sample_rate
    b_mid, a_mid = signal.butter(N=2, Wn=[VOCAL_BODY_START/nyquist_freq, VOCAL_BODY_END/nyquist_freq], btype='bandpass')
    mid_frequencies = signal.filtfilt(b_mid, a_mid, audio_data) * BODY_BOOST_FACTOR
    b_high, a_high = signal.butter(N=2, Wn=[SIBILANCE_START/nyquist_freq, SIBILANCE_END/nyquist_freq], btype='bandpass')
    high_frequencies = signal.filtfilt(b_high, a_high, audio_data) * CLARITY_BOOST_FACTOR
    return low_end + mid_frequencies + high_frequencies
Step 4 & 5: Dynamic Compression & Normalization
Finally, we apply dynamic range compression to even out the volume differences between a loud agent and a quiet customer. We finish with ffmpeg loudnorm to hit a target LUFS (Loudness Unit), ensuring every file processed sounds consistent.
Pro Tip: Always run normalization last. If you normalize before EQ, your EQ boosts might clip the signal (go above 0dB), causing distortion.
def compress_dynamic_range(self, audio_level, threshold=-20.0, ratio=3.0):
    """Simulates a hardware compressor to even out volume spikes."""
    threshold_linear = 10 ** (threshold / 20)
    envelope = smooth_envelope(audio_level)
    if envelope > threshold_linear:
        over_threshold_amount = envelope / threshold_linear
        reduced_gain = threshold_linear * (over_threshold_amount ** (1.0 / ratio))
        return reduced_gain

    return audio_level
Latency vs. Quality: The Trade-off
Implementing this pipeline adds about 0.4x real-time processing. A 10-minute file takes ~4 minutes to enhance on a CPU.
- For Live Streaming: This pipeline is too slow.
- For Post-Call Analysis: It is perfect. The delay is negligible compared to the value of accurate data.
The Result
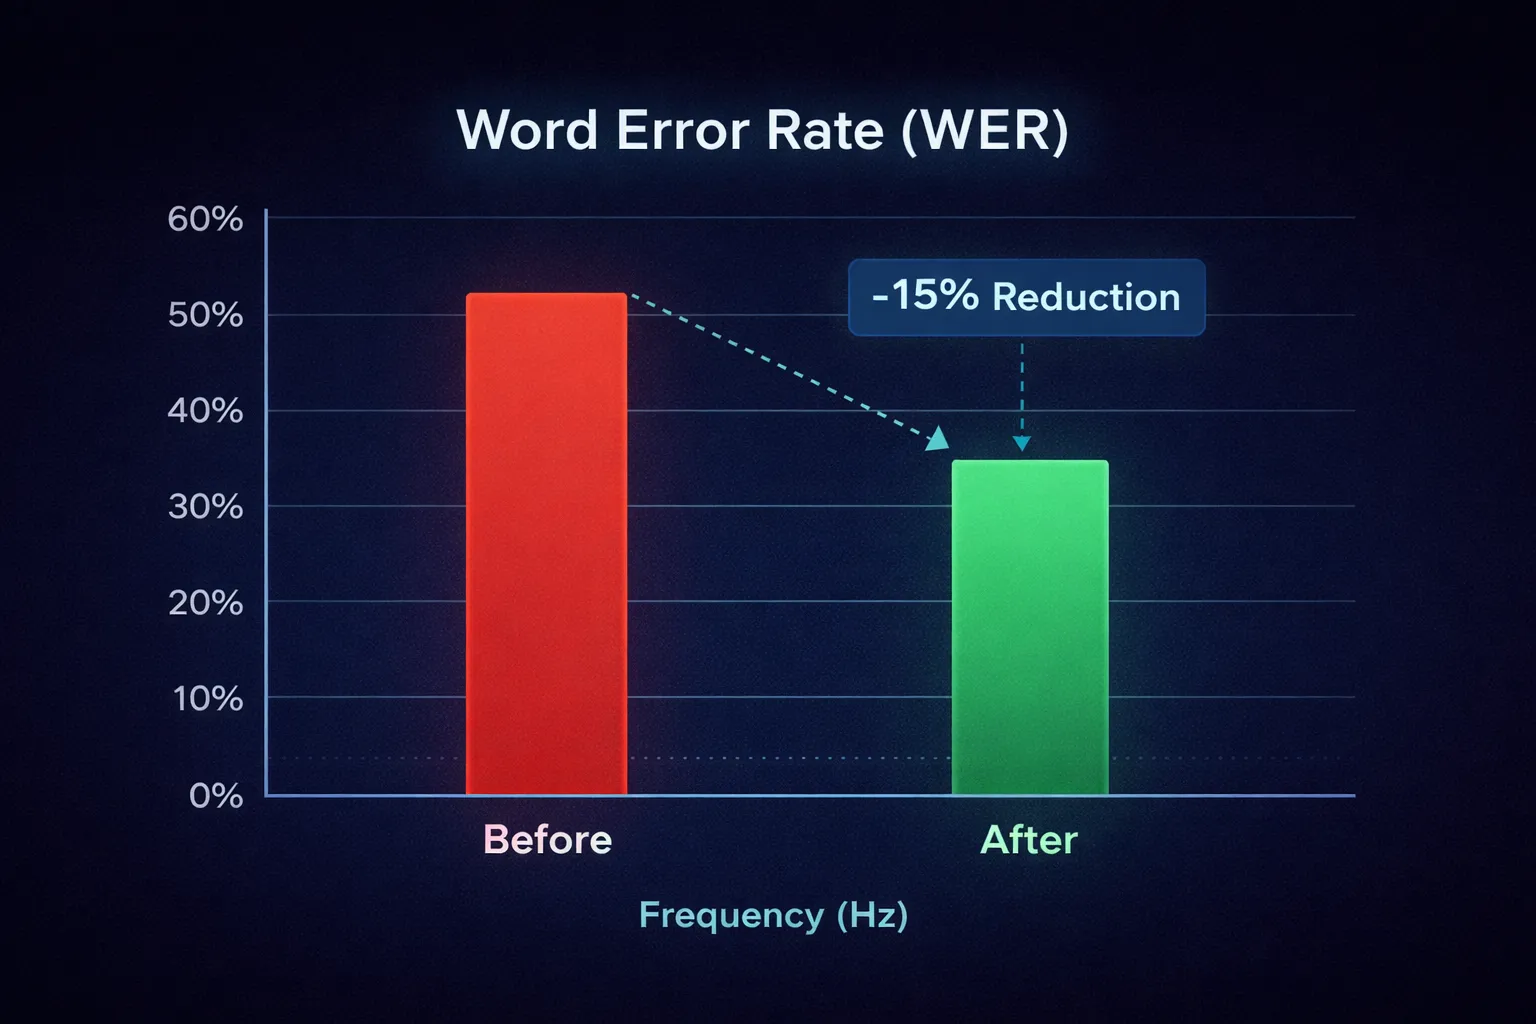
By implementing this pipeline, we’ve seen:
- Word Error Rate (WER) reduction of ~15% on noisy calls.
- Better Speaker Diarization, as the models can more easily distinguish between speakers when background noise is removed.
- Customer Satisfaction: The audio files usually sounded better to the human managers reviewing them than the original raw recordings.
In the age of AI, sometimes the smartest thing you can do is classical signal processing.